Wrought iron is renowned for its durability, classic beauty, and timeless appeal. Whether you have a wrought iron fence, railing, furniture, or decorative pieces, painting it in a new color can completely transform your outdoor or indoor space. If you’re asking yourself “How to paint wrought iron in any color?”, you’re in the right place. This guide will walk you through the entire process, from preparation to finishing, so you can achieve a professional-looking, long-lasting result in any color you desire.
Why Paint Wrought Iron?
Painting wrought iron offers several benefits. It protects the metal from rust and corrosion, extends its lifespan, and allows you to match or update your decor with any color you choose. Whether you want a bold black, vibrant red, sleek silver, or pastel hue, painting wrought iron is an affordable and effective way to refresh your space.
Step 1: Gather Your Supplies
Before starting, make sure you have the right tools and materials:
- Wire brush or steel wool
- Sandpaper (medium and fine grit)
- Primer suitable for metal
- Exterior or interior metal paint (depending on location)
- Paintbrushes and rollers
- Spray paint (optional, for a smooth finish)
- Drop cloths and painter’s tape
- Clear sealant or topcoat (optional for extra durability)
- Rust converter (if needed)
Having these supplies ready will make the process smoother and ensure professional results.
Step 2: Clean and Remove Rust
The first step in how to paint wrought iron in any color is to thoroughly clean the surface:
- Remove Loose Rust and Paint: Use a wire brush or steel wool to scrub away loose rust, peeling paint, or dirt. Be thorough—any dirt or rust left on the surface can prevent paint from adhering properly.
- Sand the Surface: Lightly sand the entire piece with medium-grit sandpaper to create a smooth surface and improve paint adhesion.
- Clean the Surface: Wipe down with a damp cloth to remove dust and debris. For stubborn dirt or grease, use a mild detergent solution. Allow the surface to dry completely.
Tip: If your wrought iron has significant rust, consider applying a rust converter before painting. It transforms rust into a stable, paintable surface.
Step 3: Prime the Wrought Iron
Priming is crucial, especially for metal surfaces. It helps prevent rust, enhances paint adhesion, and ensures your chosen color appears vibrant.
- Select the Right Primer: Use a rust-inhibiting metal primer compatible with your paint type.
- Apply the Primer: Use a brush or spray primer for even coverage. Cover all surfaces thoroughly, including crevices and intricate details.
- Drying Time: Allow the primer to dry fully, following the manufacturer’s instructions—usually 1-2 hours.
Pro Tip: For outdoor wrought iron, an oil-based or epoxy primer offers extra protection against moisture.
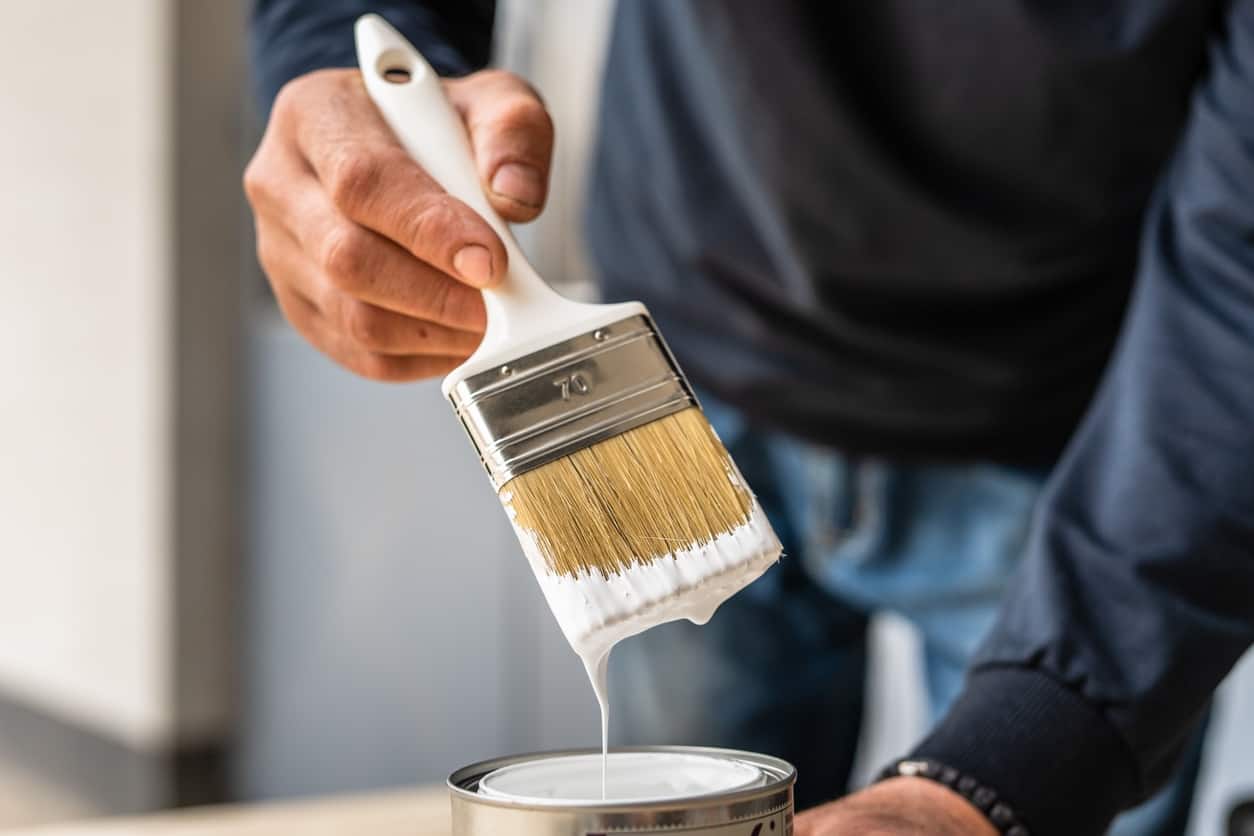
Step 4: Choose and Apply Your Paint in Any Color
Now comes the fun part—selecting your desired color!
- Pick the Right Paint: Use high-quality exterior or interior metal paint, depending on your project. Oil-based paints are durable and adhere well to metal, but water-based acrylic paints are easier to clean and less toxic.
- Color Selection: Whether you want classic black, bold red, or pastel blue, make sure your paint color is suitable for outdoor or indoor use.
- Application:
- For a smooth, even finish, use a high-quality brush, roller, or spray paint. Spray paint is especially effective for intricate wrought iron details.
- Apply thin, even coats to avoid drips and uneven coverage.
- Allow each coat to dry thoroughly before applying the next, usually 2-4 hours.
- For vibrant, rich color, apply at least two coats.
Tip: For large or complex pieces, spray painting provides a more uniform finish and is faster.
Step 5: Seal and Protect Your Painted Wrought Iron
To maximize durability and maintain your chosen color in any environment:
- Apply a Clear Topcoat: Use a clear, protective sealant or topcoat suitable for metal surfaces. It adds an extra layer of protection against weather, scratches, and fading.
- Final Drying: Allow the sealant to cure fully before exposing the wrought iron to outdoor elements or heavy use—usually 24-48 hours.
Additional Tips for Painting Wrought Iron in Any Color
- Test Your Color: Before painting the entire piece, test your color on a small, inconspicuous area to ensure satisfaction.
- Use Multiple Thin Coats: Thin coats provide a smoother finish and reduce drips.
- Maintain Your Finish: Regularly clean and inspect your wrought iron for signs of rust or chipping. Touch up as needed to keep it looking great.
- Safety Precautions: Work in a well-ventilated area, especially when using spray paint or chemicals. Wear gloves and a mask if necessary.
Conclusion
Painting wrought iron in any color is a rewarding project that can dramatically enhance your home’s aesthetic. With proper preparation, the right materials, and patience, you can achieve a flawless, durable finish that lasts for years. Remember to thoroughly clean and prime the surface, choose high-quality paint in your desired color, and apply multiple thin coats for best results.
Whether you want to update an old fence, refresh a set of outdoor furniture, or add a pop of color to decorative wrought iron features, these steps will guide you through the process. With a little effort, your wrought iron pieces can become stunning focal points in your home or garden—beautifully painted in any color you love.